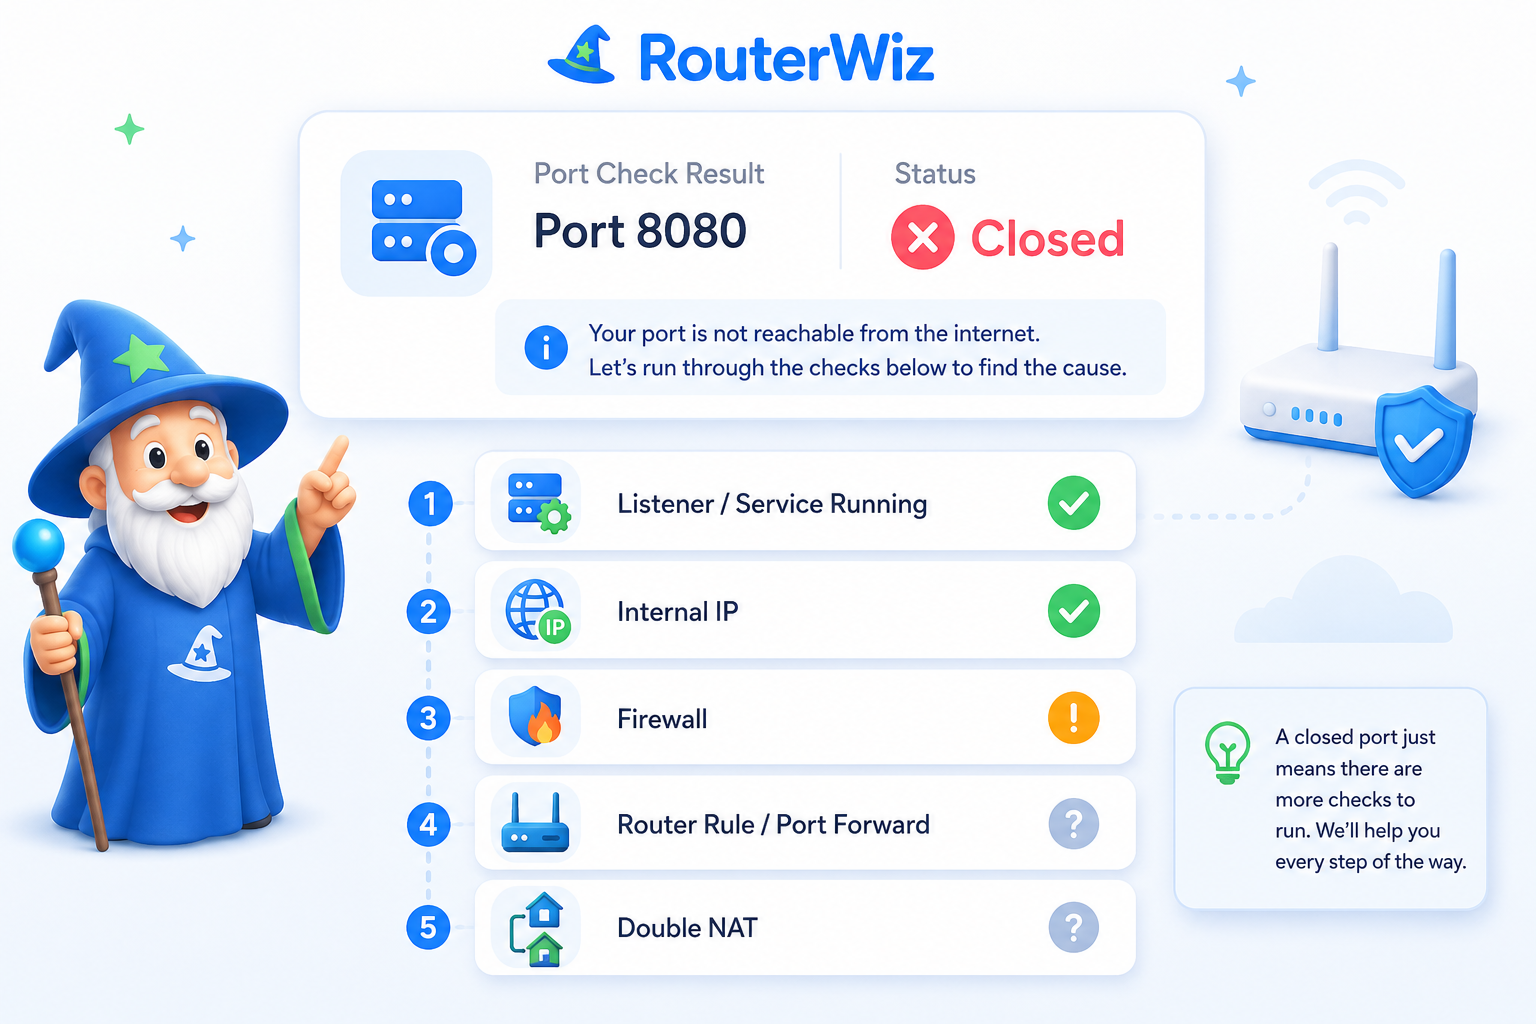
Port Forwarding
Move from setup to verification instead of stopping at the router rule.
The port forwarding hub should connect the full workflow: pick the use case, generate the right values, save the rule, test the result from the outside, and troubleshoot what is still blocking the path.
Core workflow
- Choose the app, game, or device that needs inbound access.
- Generate the service name, ports, protocol, and target internal IP.
- Save the rule in the router and keep the target device IP stable.
- Run a public port check and only then move into troubleshooting if it still fails.
What not to assume
- A saved router rule does not mean the app is actually listening.
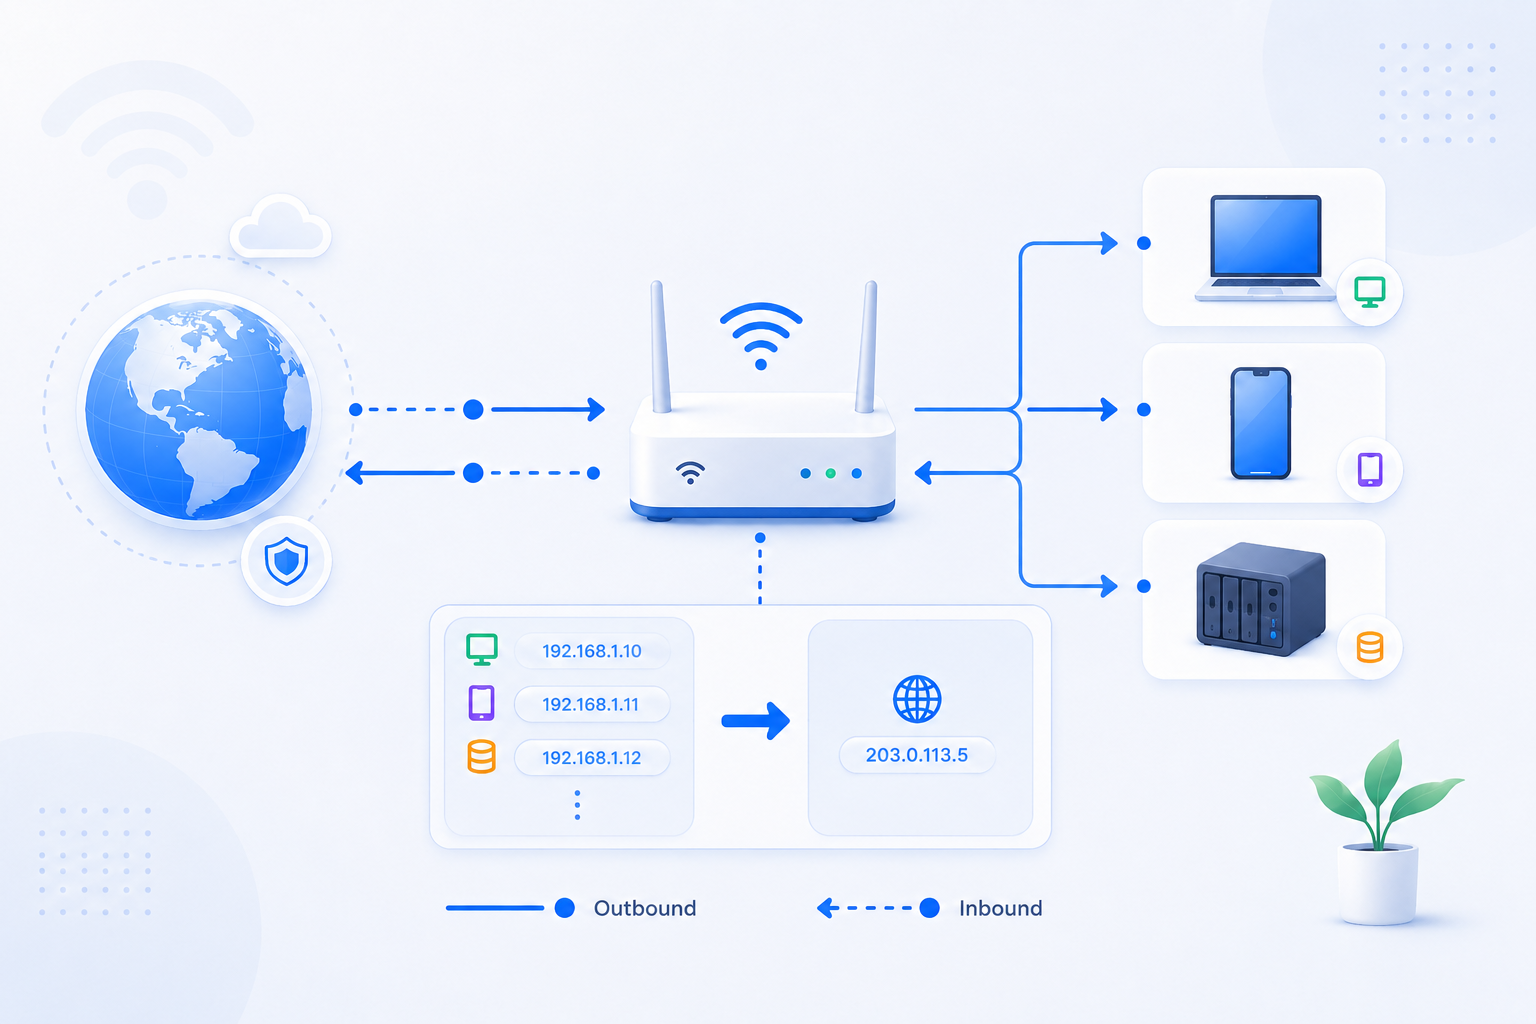
- The wrong internal IP can break everything even when the router screen looks correct.
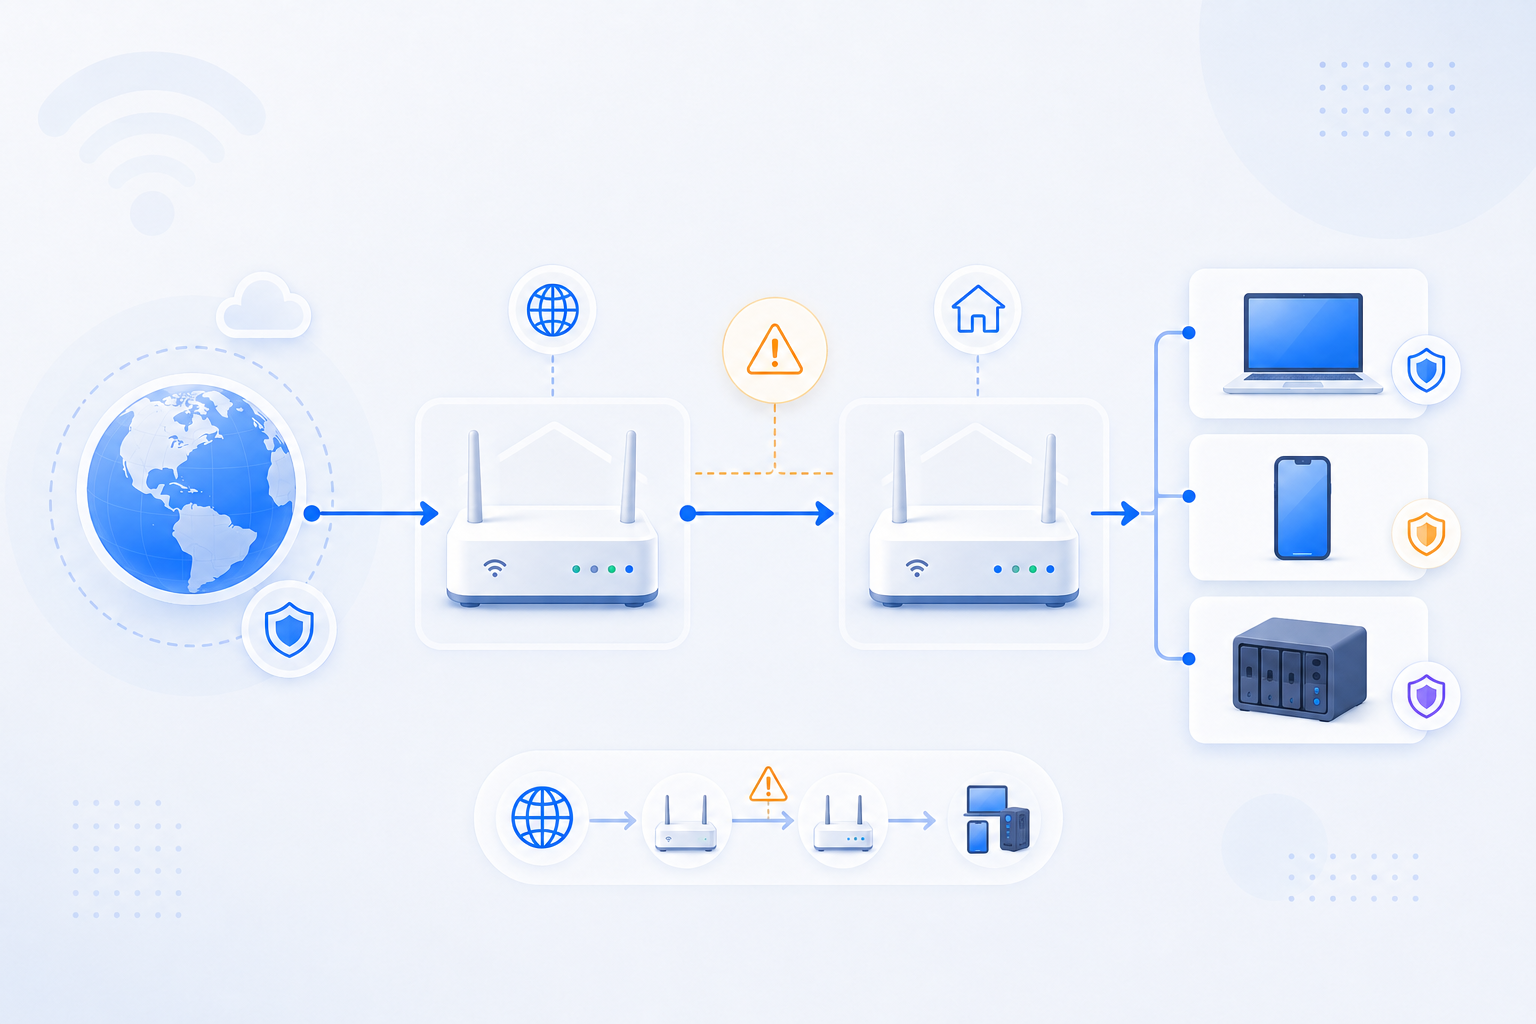
- Firewall, Double NAT, or CGNAT can block access even after a careful setup.
Related visual cues
Helpful visuals for this page
Selected visuals from the generated RouterWiz asset set for this hub.
Quick start
Start from the service you actually want to expose.
Use-case-first entry points work better than abstract router theory when the user already knows the app, game, camera system, or server they are trying to reach.
Minecraft Server
Port 25565, TCP, internal IP targeting, and verification after setup.
Open use caseRemote Desktop
RDP exposure warnings, safer alternatives, and public access checks.
Open use case
CCTV / NVR
Remote camera access, DDNS considerations, and ISP-related pitfalls.
Open use case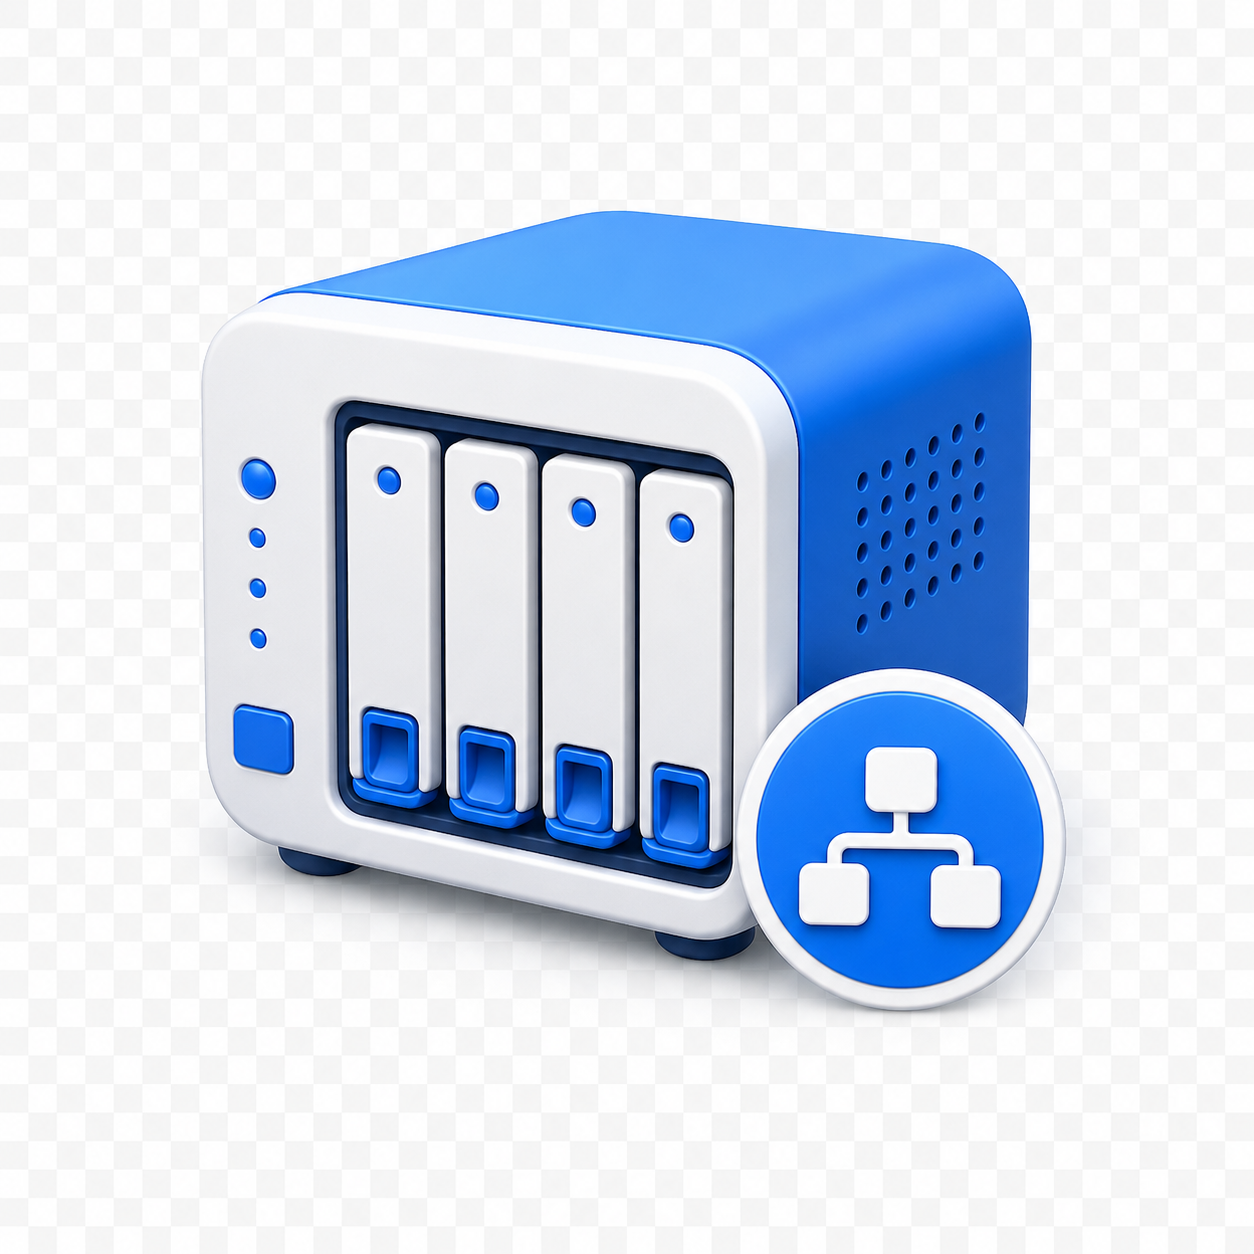
NAS / Plex
Remote storage access, internal IP stability, HTTPS, and WAN reachability.
Open use caseCore paths
Keep setup, verification, and failure paths visible together.
A good port forwarding hub should show the main use cases, the tools that move the task forward, and the failure paths users hit most often.
Core tools
Most common failure paths
Before you save the rule
Browse deeper
Go from the workflow into the right supporting hub.
After the first rule attempt, users often need a router-specific guide, a use-case library, clearer terminology, or short FAQ answers.
Router Features
NAT, DHCP, DDNS, UPnP, DMZ, bridge mode, AP mode, QoS, VPN, firewall, and more.
Open hubUse Cases
Gaming, CCTV, NAS, Plex, VPN server, home server, remote desktop, and small office flows.
Open hubGlossary
Short definitions for WAN, LAN, NAT, CGNAT, DHCP, SSID, bridge mode, and related terms.
Open hubPort Forwarding FAQ
Short answers for closed ports, wrong internal IPs, and app listening confusion.
Open hubFAQ
Keep repetitive port forwarding questions short and practical.
These are the questions users ask once the rule looks right but the public result still does not match expectations.
Why is my port still closed?
Most closed ports come from no listener, wrong internal IP, firewall, double NAT, or CGNAT.
Open answerIs it safe to open Remote Desktop?
Directly exposing RDP is risky and often calls for safer relay or VPN alternatives.
Open answerCan my ISP block port forwarding?
Yes. ISP gateways, CGNAT, and provider restrictions can prevent inbound access.
Open answer